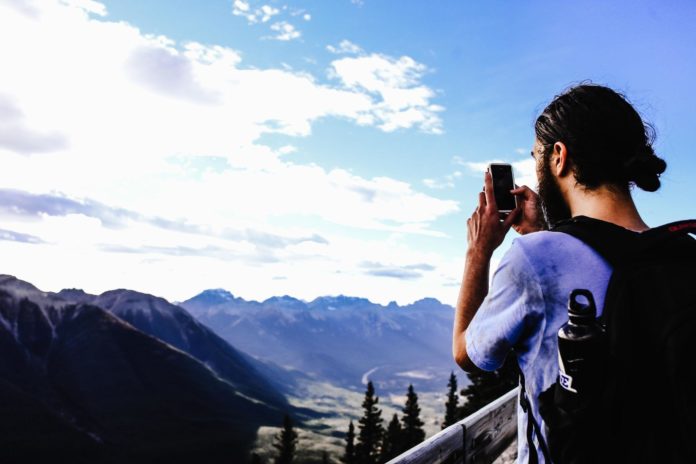
Pat Baker of Texas, an adventure photojournalist, mountaineer, and photographer, sheds more light on how you can use the fill flash technique.
In this guide, he teaches you everything you need to know about this skill. As a photographer, you can use fill flash to balance the exposure between the foreground and background when shooting in low light.
This blog will cover:
- What is a fill flash?
- How does it work?
- When should you use it?
- How should you use it?
- What are some great examples of when you can use this method?
What is a fill flash?
Fill flash is a technique that allows photographers to shoot photos in mixed lighting conditions. It’s handy when your subject is backlit or there is a significant difference between its brightness and background.
When should you use it?
You can use fill flash to lighten up dark shadows, reduce contrast in high-contrast situations, and create a more natural look on people’s faces. Pat Baker of Texas says it’s also useful for indoor and outdoor photos and portraits. And you can also use it on landscapes to fill in any shadows caused by sunlight.
How does it work?
The Fill Flash Technique is a photography technique that increases your photo’s exposure. It’s also known as fill-in flash, fill-flash, or sometimes fill.
It ensures that your subject’s face is bright enough in the photo. It makes their face stand out from the background and provides better contrast.
How should you use it?
Here are 11 tips on how to use the fill flash technique properly.
- Avoid using fill flash in broad daylight. But some photographers use it on sunny days.
- Use a flash with a diffuser to soften the light.
- Don’t use it in close-up shots or when you have a model’s face fully lit.
- Use fill flash when taking photos of people indoors or when the subject is backlit. But you can also use it outdoors to provide light in your photo’s shadows and dark areas.
- Be careful not to over-expose your subject when using fill flash.
- Avoid using too much flash, as it will give your photo an unnatural look and feel.
- Always try to use a slow shutter speed when taking pictures with fill flash.
- Position yourself, so you don’t get any direct light on your subject’s face. It’ll create more natural results.
- Experiment with different angles and distances from your subject to achieve the desired result.
- Preferably, control the flash manually.
- Bounce the flash, particularly in places with high and dark ceilings.
What are some great examples of when you can use this method?
Some great examples of when you can use the Fill Flash Technique are:
- When shooting photos in an area with low light, such as at night or indoors
- When shooting portraits, you want to make your subject stand out from the background.
- When photographing landscapes and wanting to make them look more dramatic
Pat Baker of Texas has over 30 years of experience as a professional photographer.

