

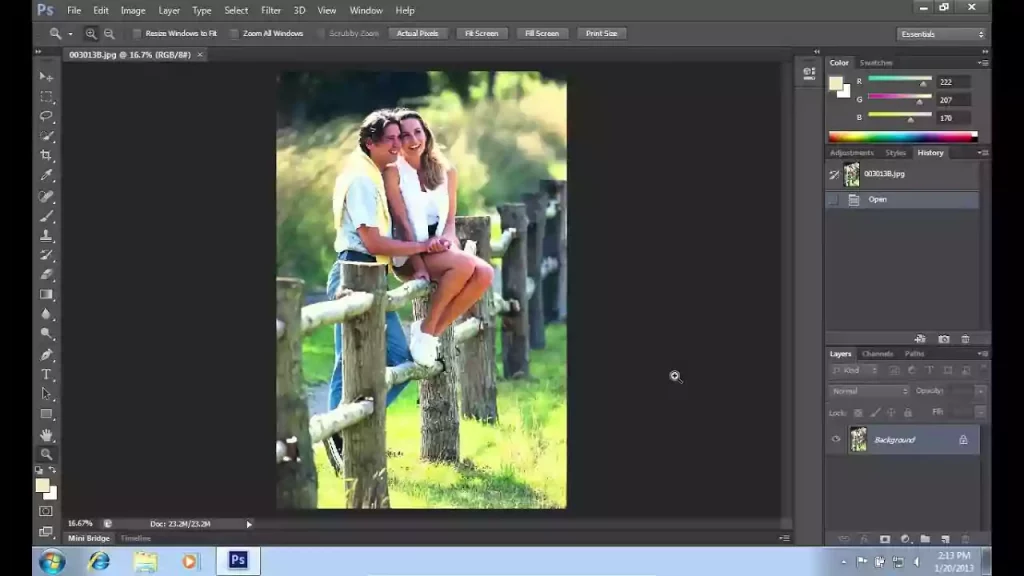
Photoshop is that application in which the users can add or create so many effects in order to enhance the photo. Adding a vignette is one of them.
It is actually an effect by which the users of Photoshop can darken the corners of the frame of a photo.
In the beginning, the Photoshop users did not pay much attention to this feature of the app. but, as we have progressed so far with the technologies, we start giving value to this feature.
In recent days, the vignette effect is quite popular among the creative effects in Photoshop applications.
But do you know how to vignette in Photoshop? If your answer is no, then you have to read this article to the end. Never mind! Adding vignette gradient in Photoshop is quite easy nowadays.
Read our step-by-step guide and at the end, you will know everything about vignette effect Photoshop.
Let’s start.
Adding Vignette In Photoshop- The Easiest And Simplest Step By Step Guide For The Beginners
Adding a vignette in Photoshop in 2021 can be done in various ways. By creating a vignette effect, you can draw the attention of more and more people to the subject, or more precisely to the image, Photoshop provides the users with several possibilities to create a vignette effect.
Here are some methods that you can try.
You Can Use Lens Correction Filter And Add Vignette.
- You need to open the photo that you are willing to add a vignette effect.
- Go to the ‘Lens Correction’ option from the menu ‘Filter’.
- Go to the custom tab. Here you can see two sliders. One is for setting the amount and another is for setting the midpoint.
- Adjust them as you want.
You Can Create a Vignette With Layers Of Solid Color.
- You should select ‘Create new Fill’ or the Adjustment layer and from there choose ‘Solid color’.
- Now choose the option ‘Set the color black’ and choose OK.
- Go to opacity and set it like 30%. Replace the blending mode with “multiply”.
- Now choose the paintbrush and set the color to black.
So, here is these two easy and simple method by which you can create the vignette effect in Photoshop.
Creating Transparent Vignette In Photoshop
The year 2020 may be hard for all, though people started to add vignettes in Photoshop 2020 more and more. It is because they have time to try something creative.
That is why the most asked question in 2020 is: how to make a transparent vignette in Photoshop.
Go along with the steps.
- In Photoshop, open an image that you want to add a transparent vignette effect.
- At first, make a white background so that you can get a soft and white frame.
- Go to the ‘Layers’ tab. Now choose “Adjustment Layer”. If you can’t find it, look for the half white and half black circles. That is the icon for it.
- Now choose the option ‘Solid Color’.
- Move to color pixel and type R: 255, G: 255, B: 255. You will have a solid background.
- Choose OK.
- Move forward to ‘Color Fill layer’.
- Double click on the layer palette. A dialog box ‘New Layer’ will open. You can choose the default name there.
- Choose Layer 0 and go to Color Fill layer.
- Use the marquee tool to drag the selection around the space you wish to keep.
- Click on “Add Layer Mask”. Go to properties and double-click on the layers palette.
- Make the edges of the mask faded to make the vignette effect.
- Save your changes by clicking ok.
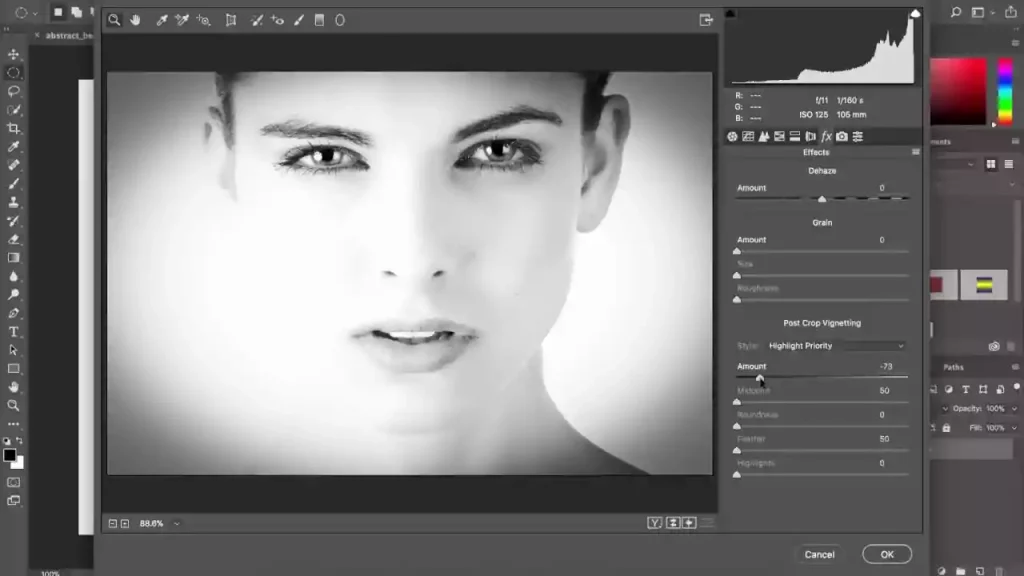
Creating Vignette: Photoshop Cs6
In Photoshop CS6, you can add a blurred vintage effect.
- Make a duplicate copy of the background layer by pressing CTRL+J.
- Now choose Iris Blur Filter from the filter menu.
- In the preview area you will see outer pin. Drag it clockwise to enhance the blur, or vice-versa. Set the blur amount to 12 pixels.
- Now, you have to set the transition area and choose ‘Save mask to channels’.
- Now, you can apply the blur effect on the photo.
Installing Photoshop Vignette Plugin
- Go to the dropdown menu and choose ‘Edit. Now choose Plugin from Preferences.
- Go to the ‘Additional Plugin Folder’ and tick it for the new files.
- Install a plugin.
- Move to the Program Files and choose the folder Photoshop.
- Go to the folder Plugins. You will find it out in the Photoshop folder.
- Move the Photoshop plugin into the Plugin folder.
- Now, again go to Photoshop and you will see the new plugin under the ‘Filter’ Menu.

With vignette photopeak, you can hide some part of the picture without replacing the real pixel data. Also, you can download vignette effect apps other than Photoshop. Among them, Final Touch, Snapseed, VSCO, etc. are quite popular.
FAQS
How Do You Create A Vignette Effect In Photoshop?
- At first, load your image or photo in Photoshop.
- Now make an oval-shaped selection around it.
- Now, you need to feather your oval selection.
- Invert your selection by moving forward to ‘Select’ and then ‘Inverse’.
- Now add the ‘Adjustment’ layer.
- You are free to add any change to the curve to correct the vignette effect.
Is There A Vignette Tool In Photoshop?
You can add a vignette effect in Photoshop. As for the tool for the vignette, you can select the ‘Shape’ tool. Then you can draw on the area that you are willing to enhance.
The Shape ‘Subtract Front’ which is from the windows Properties panel will do the task for you.
How Do You Add A Vignette In Photoshop Cc?
Here is the easiest and quickest way to add a vignette in Photoshop CC.
- Make another blank layer and fill the layer with the black color in Photoshop CC. you can do that by making the layer of the background black by pressing D on the keyboard.
- The next thing you have to do is to toggle the color of the background and the foreground by pressing the X key.
- Click on the black layer to disable it.
- When you want to draw a circle at the special point of the photo by using the elliptical marquee tool.
- Now press Command + D in order to disable the highlighted portion of the black layer.
- Now move forward to ‘Filter’ and select Gaussian blur and adjust the bar to 400-500 pixels.
- Replace the blend mode with soft light.
- You can decrease the opacity to 20. Or you can choose whatever you think is right.
What Does Vignette Mean In Photoshop?
Vignette in Photoshop is an effect by which the users of Photoshop can darken the corner of the fame of the image. It is a process of reducing the brightness or the saturation of the image at the edges.
As for the result, you will get a clear image at the center. The image is faded at the corner.
To Sum It Up
Creating a vignette in Photoshop is one of the excellent features of Photoshop. No doubt that Photoshop is evolving day by day and providing its users with the latest quality features.